
A large screen with a precise pen, 4K resolution, and color accuracy? What more could you want on your dream editing setup?
A large, high-resolution screen and a precision pen tool would probably be one of the pinnacle of what most photographers would think of when it comes to their dream home or studio editing station. A pen display basically offers the ability to make precise inputs, especially in retouching or manual blending, directly onto the screen where they are viewing the image. Of course, pen displays are more commonly used by digital artists and illustrators, but there are definitely benefits that these can offer to the post-production workflow of photographers.
Build and Design
The Xencelabs Pen Display 24 comes in a 61.8 x 38.8 cm (24.4 x 15.3 in) magnesium alloy-housed panel with a 24-inch display. It has a panel thickness of 3.4 cm (1.4 in) and weighs a whopping 6 kilograms, which only really matters when shipping and transporting. The active area is 52.7 x 29.6 cm (20.75 x 11.7 in), which is surrounded by a considerably sized bezel. The entire panel is covered by what seems like a single bonded layer of glass with a remarkably matte, nearly glare-free, and fingerprint-resistant surface.
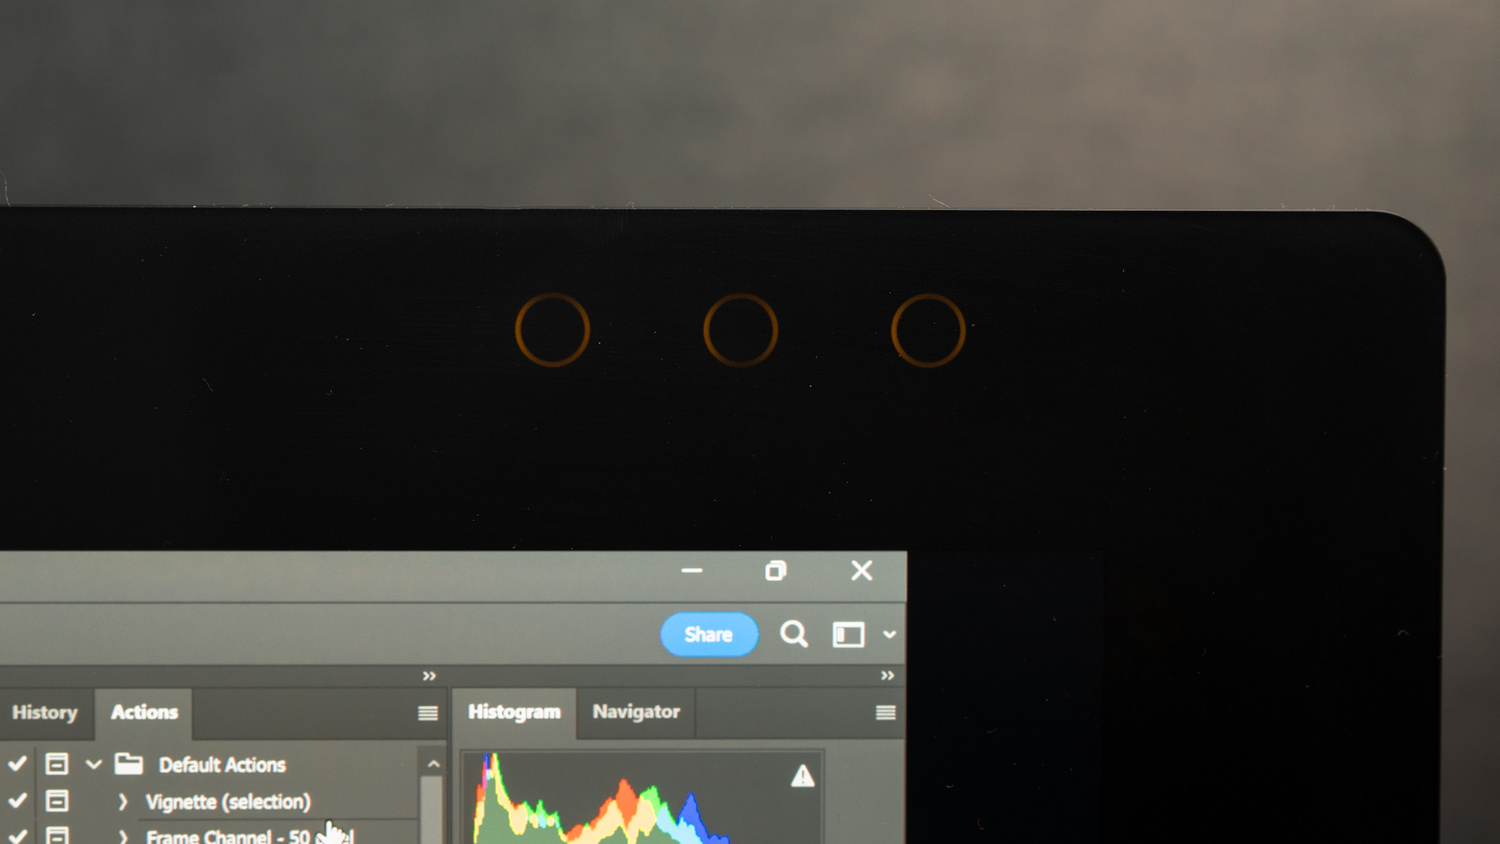
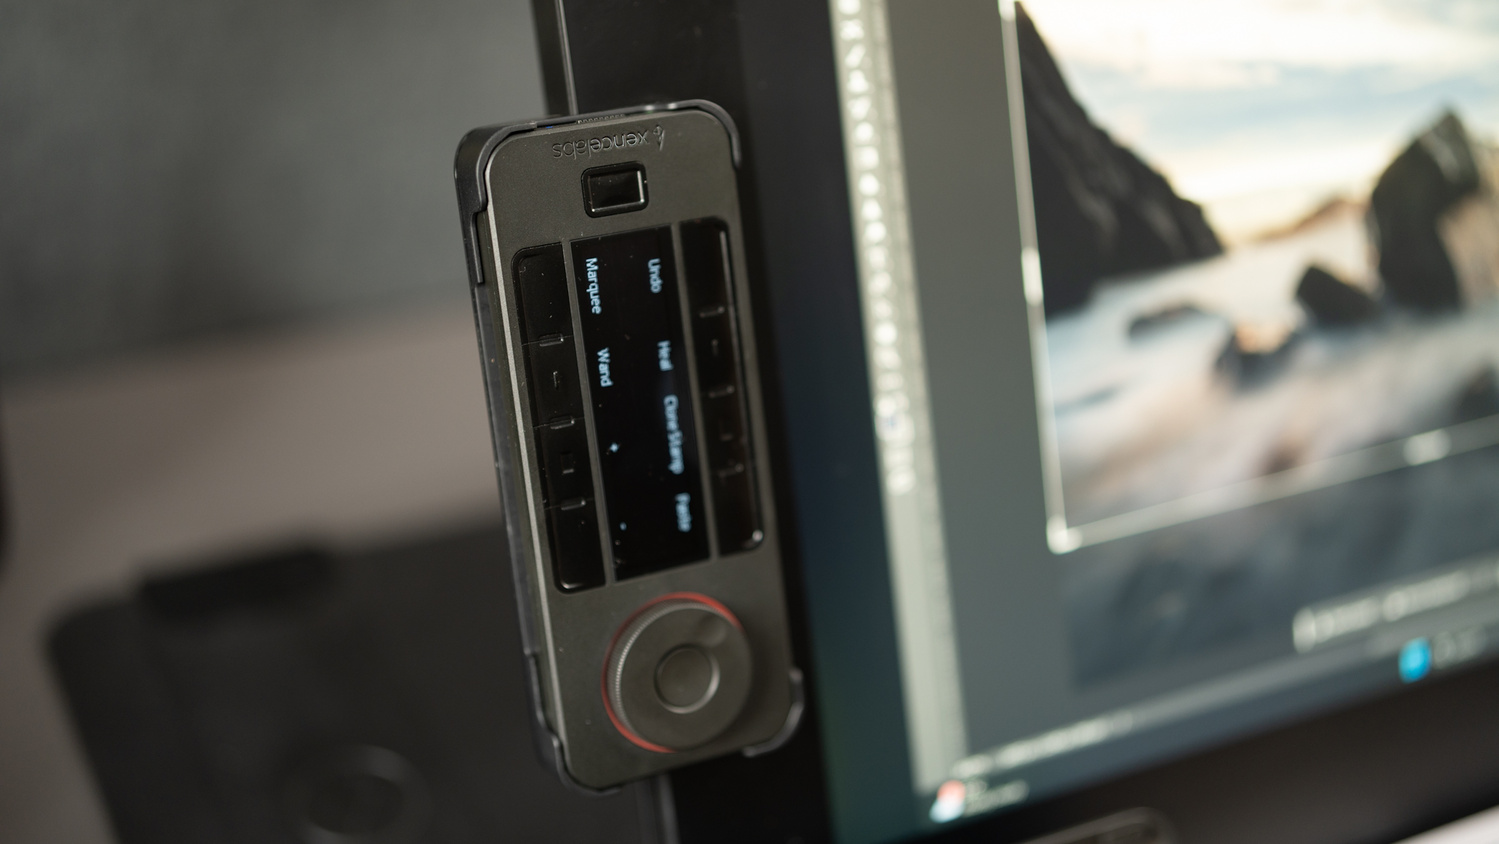
On the top right portion of the bezel are three programmable touch buttons that can be assigned specific shortcuts or commands. The color of the buttons can also be customized depending on what app or mode the display is currently working on. Each of the sides of the panel have two attachment points for the pen holder and are all compatible with the attachment clip of the supplied Quick Keys controller.
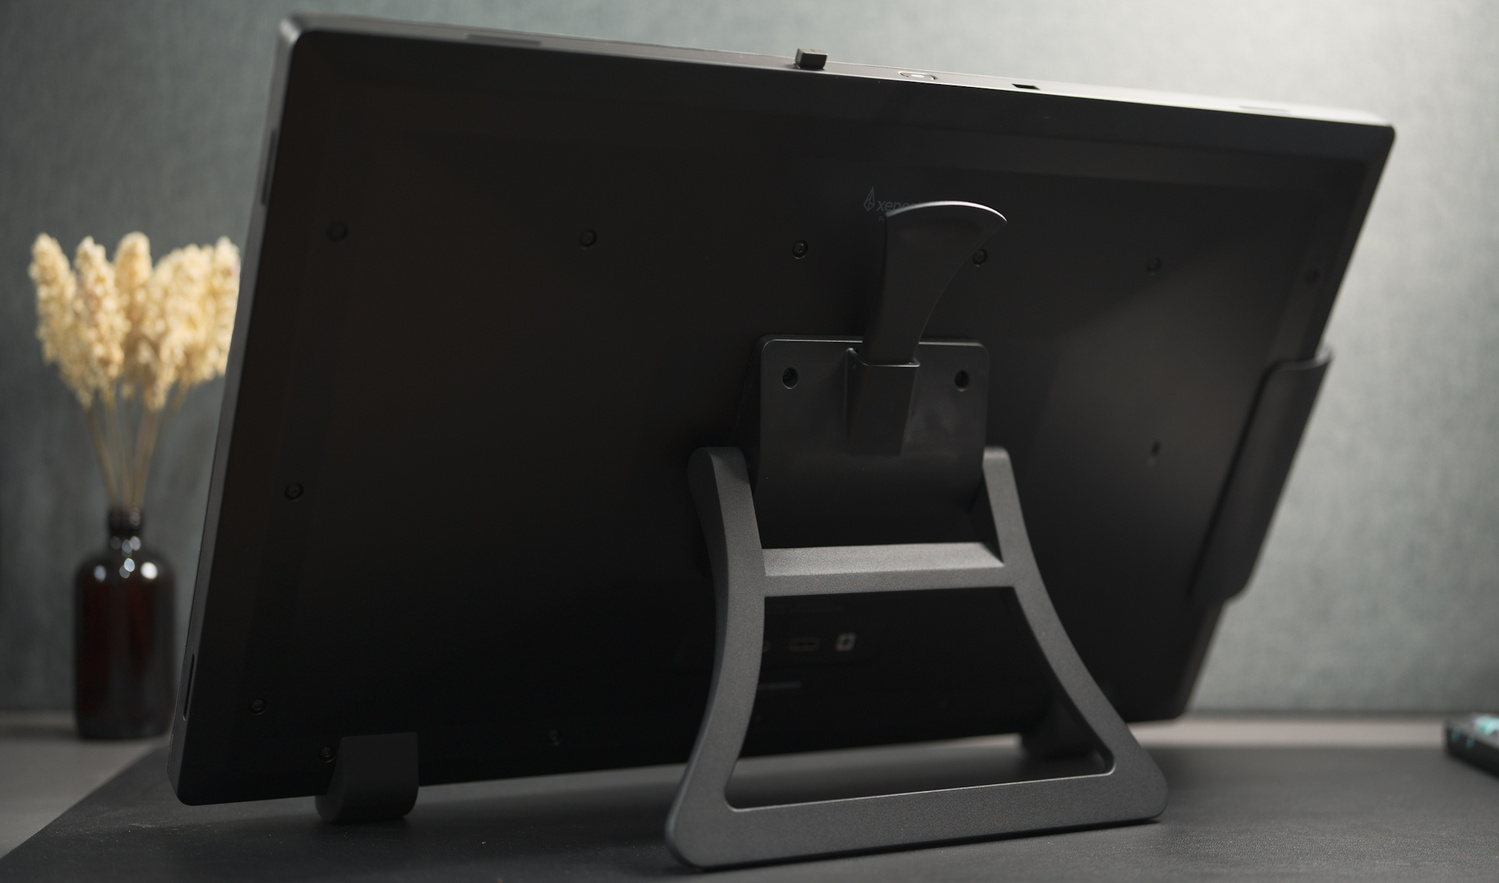
The back panel has standard 100x100mm VESA compatible ports where the supplied tabletop tilt stand is connected. This stand allows adjustments from as flat as 16 degrees to as high as 72 degrees, which is quite a considerable range for finding the perfect viewing and/or drawing angle.
This tilt stand comes with a quick unlock mechanism that can be adjusted with just one hand from the top of the panel. For added flexibility, an optional multi-axis stand is also available, along with the possibility of use with other 100x100mm VESA mount stands or display arms.
Input Options and Compatibility
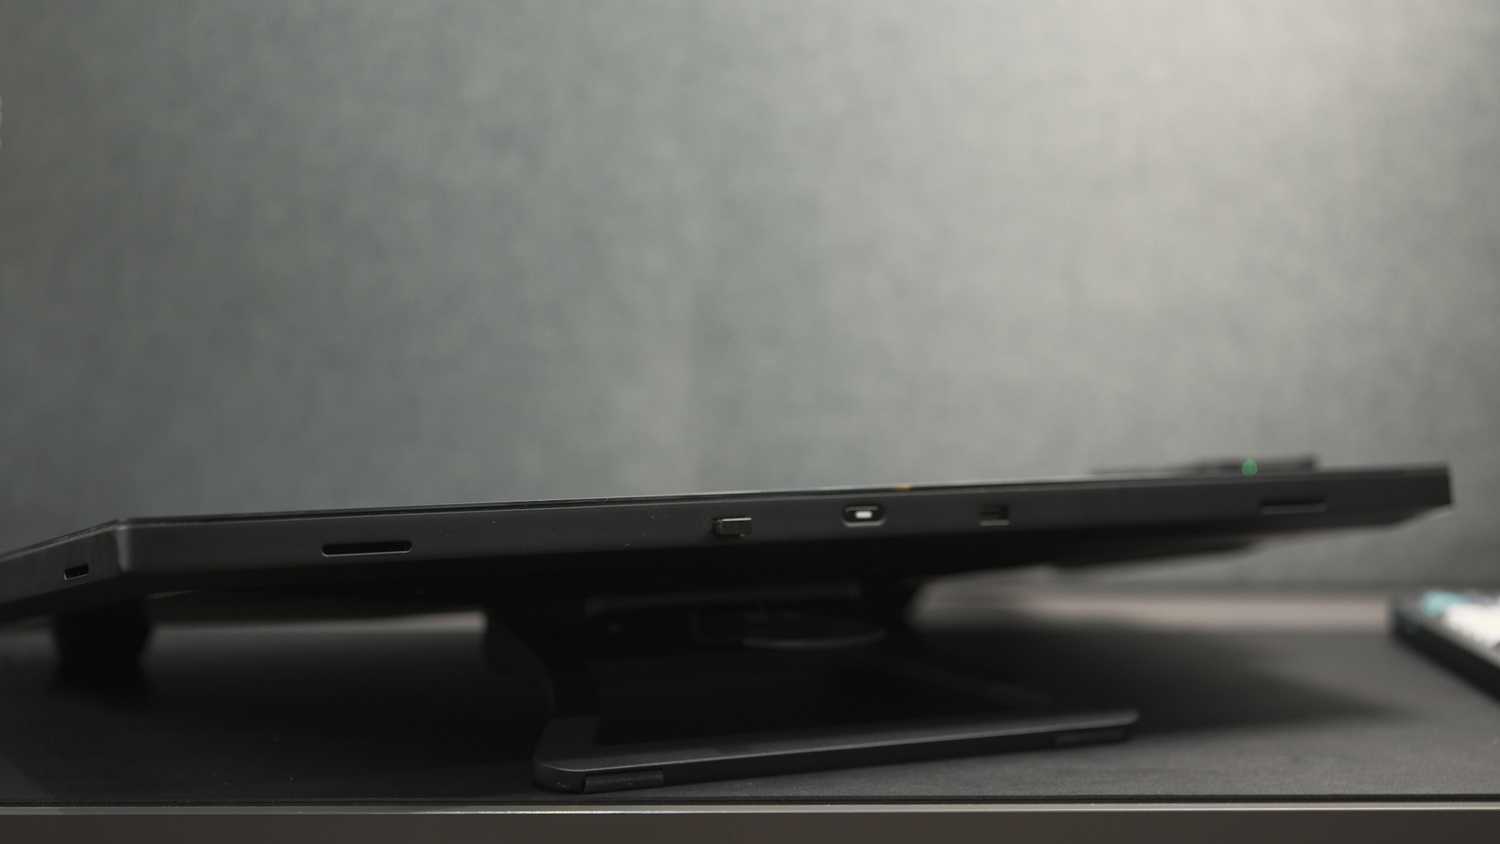
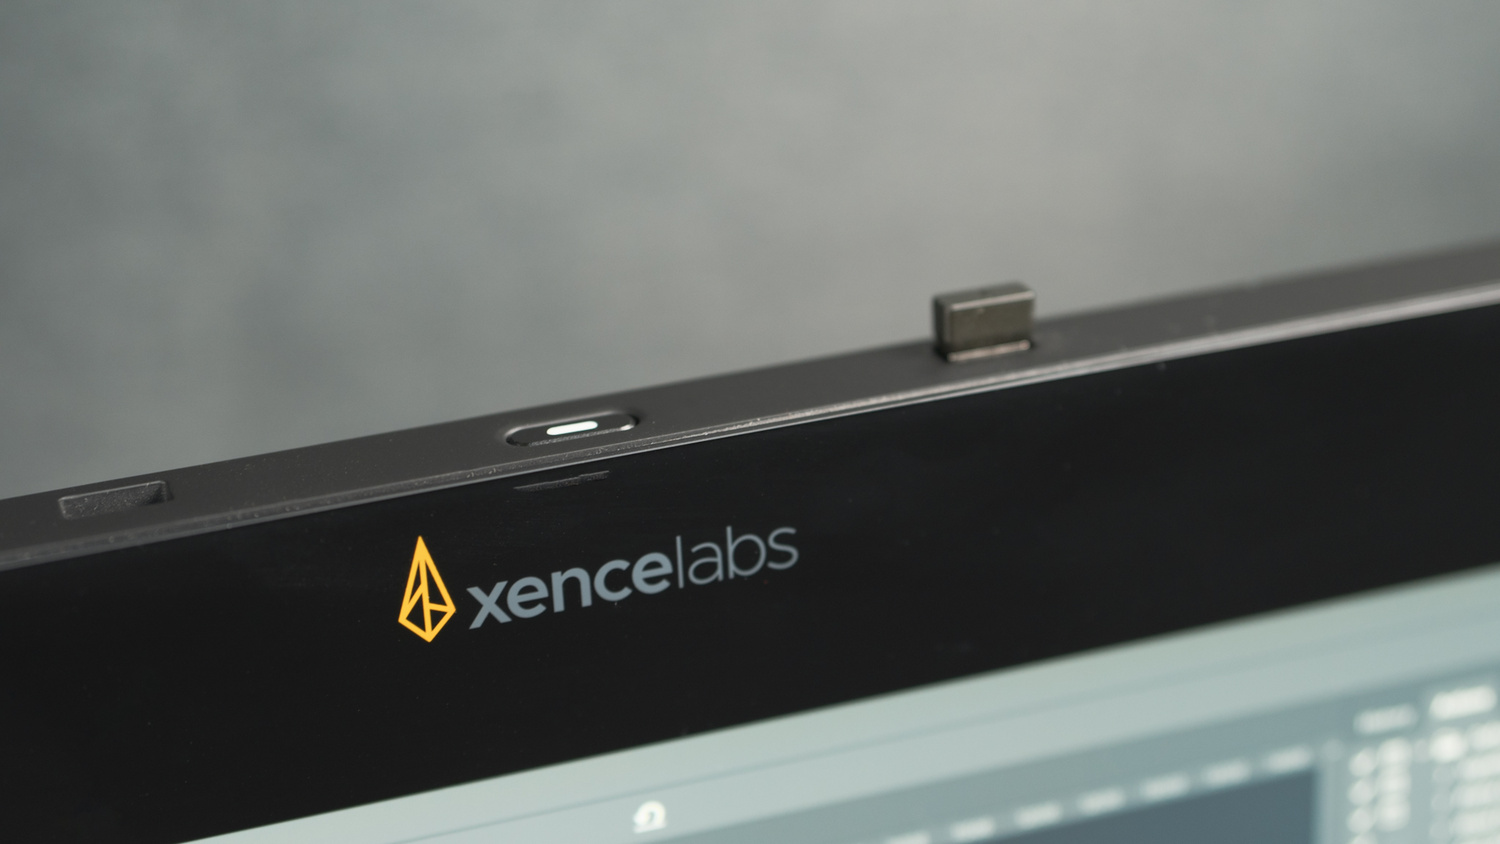
The top upper edge of the display features the main power button, with one USB-A port on either side. These ports are generally for the USB dongle of the Quick Keys controller and an additional port for a wireless mouse or keyboard, depending on the user’s preference.
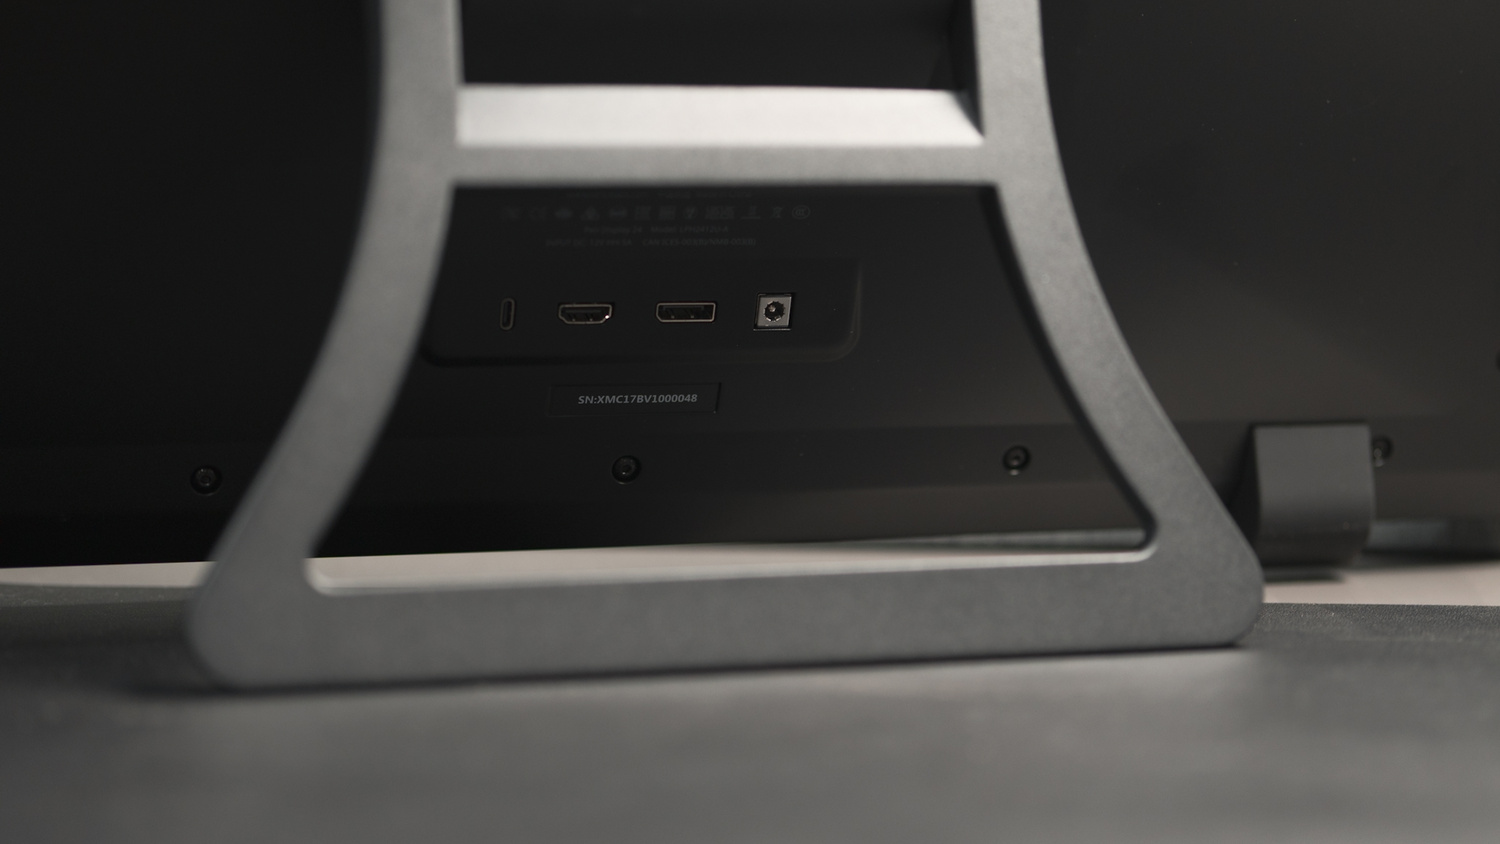
The main input ports of the display can be found on the lower 1/4 of the rear panel, right behind the stand. This array is comprised of a port for the AC adapter, a USB-C port, a full sized HDMI port, and a DisplayPort. The ports were strategically placed in this area for the purpose of tidy cable placements, as they can run through the stand and be organized depending on where the power supply and the computer are placed. However, this also means that if the display was being used flat on the table, it would require some height adjustment to get access to the cables. At the same time, there would be a limitation in this angle range if one of the supplied L-type cables were to be replaced with straight-ended ones for whatever reason.
Amid the minimalist design style of this pen display tablet, there are quite a few potential improvements that can be made in terms of functionality. The bezel surrounding the active area is quite significant on all four sides, which is why leads me to ask why there are only three custom buttons on the display itself. It is understandable that the pen display was designed to be used with the Quick Keys controller, however the amount of space available around the display offers the possibility of putting even more customizable features, such as additional buttons or even touch sliders for global adjustments in editing or other similar actions in other workflows.
Similarly, considering that this display can either be used as a secondary display to a laptop or as a primary display for a desktop setup, especially since it supports both pen inputs and display using just the USB-C cable, it would be a great opportunity to incorporate more USB-C and even a 3.5mm aux port to serve as a built-in USB hub like how most creative displays are now being made.
Display Resolution and Color
The Xencelabs Pen Display 24 sports a 20.75 x 11.7 inch (24.4 inch diagonal) IPS panel with a maximum resolution of 3,840 x 2,160 (4K UHD) with a 60 Hz refresh rate. It has a maximum brightness of 330 nits and is capable of displaying 1.07 billion (10-bit) colors. This 24 inch pen display is capable of reproducing colors that cover 99% of the Adobe RGB color space and 93% of the DCI-P3 color space.
This pen display is also included in the products that underwent and passed Pantone and Skintone validation. This specifically means that Pantone guarantees that such displays are capable of quality color reproduction and accuracy after going through their meticulous testing process. This does not mean that the display is color accurate straight out of the box (but can possibly come close in a controlled lighting environment) but instead means that they are capable of high color accuracy once calibrated to the specific lighting environment in which the display is to be used.
Tools and Accessories
Similar to the Xencelabs Pen Tablet that we reviewed a while back, this pen display also comes with its own set of two battery-free EMR pens, 10 extra tips, a tip replacement tool, the Quick Keys controller, a USB adapter, and a USB dongle for the controller.
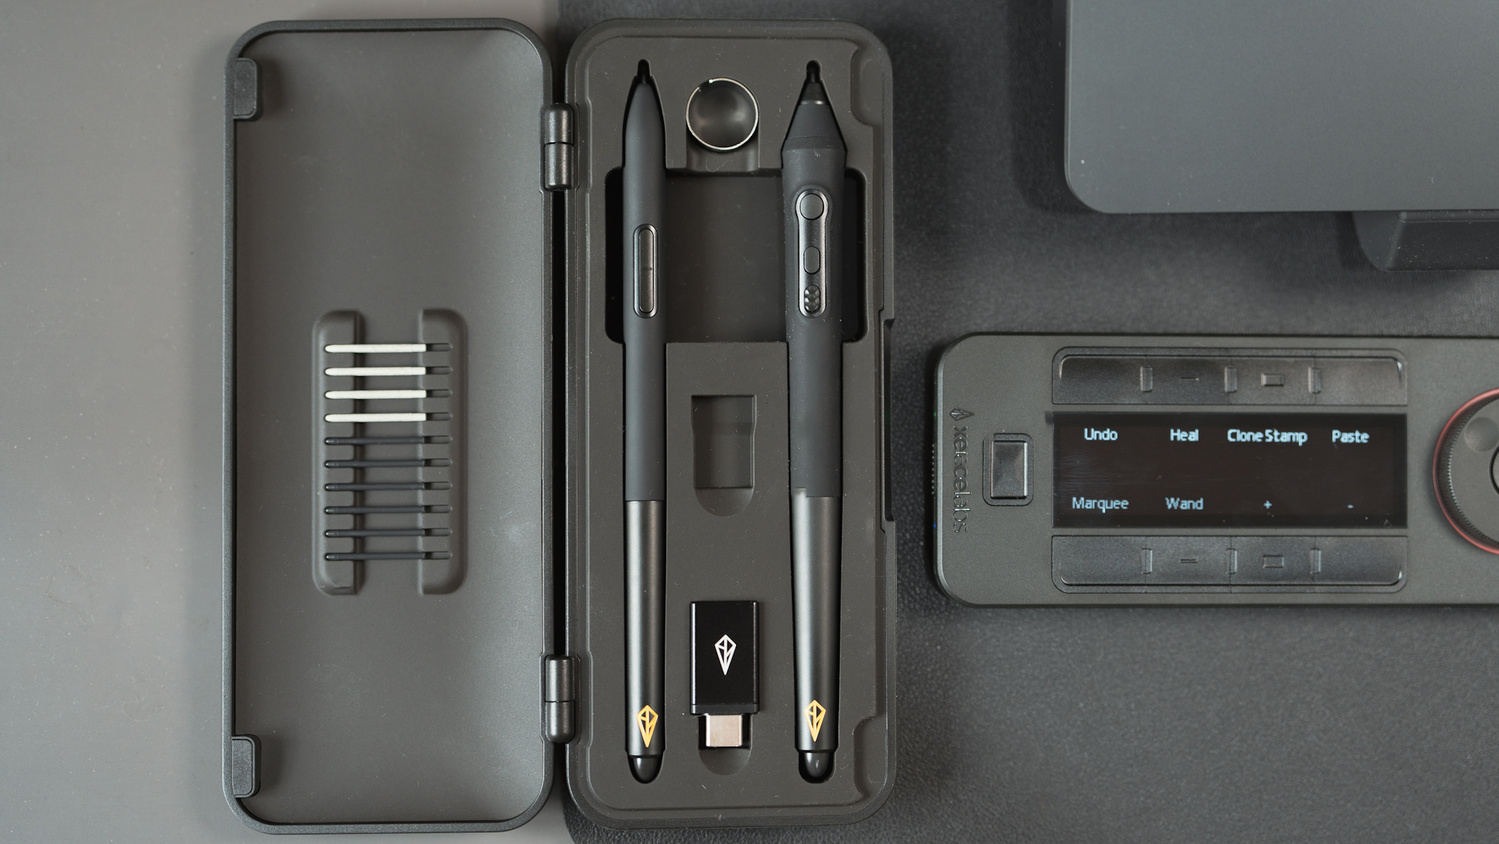
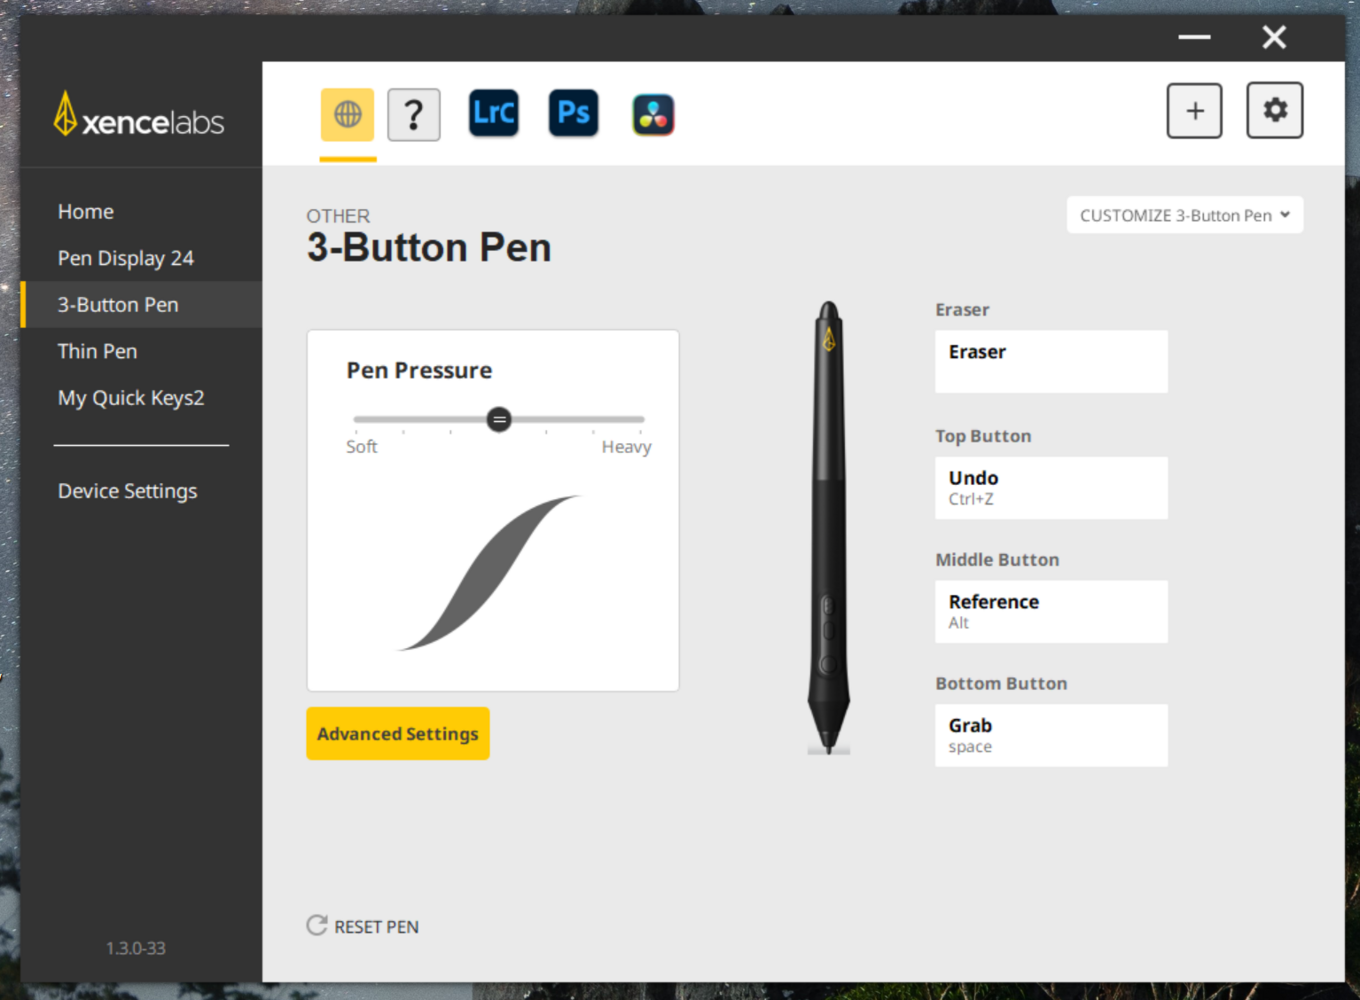
The first pen is a thicker three-button pen with an eraser tip on one end, and the second is a thinner two-button pen. The former is an option of better grip stability with an additional customizable function, while the latter is for possibly more relaxed use. The two pens are also set up separately, so either of them can be dedicated for different workflows. Both pens have 8,192 different pressure levels with a resolution of 5,080 lpi and can be used with a tilt of 60 degrees in any direction.
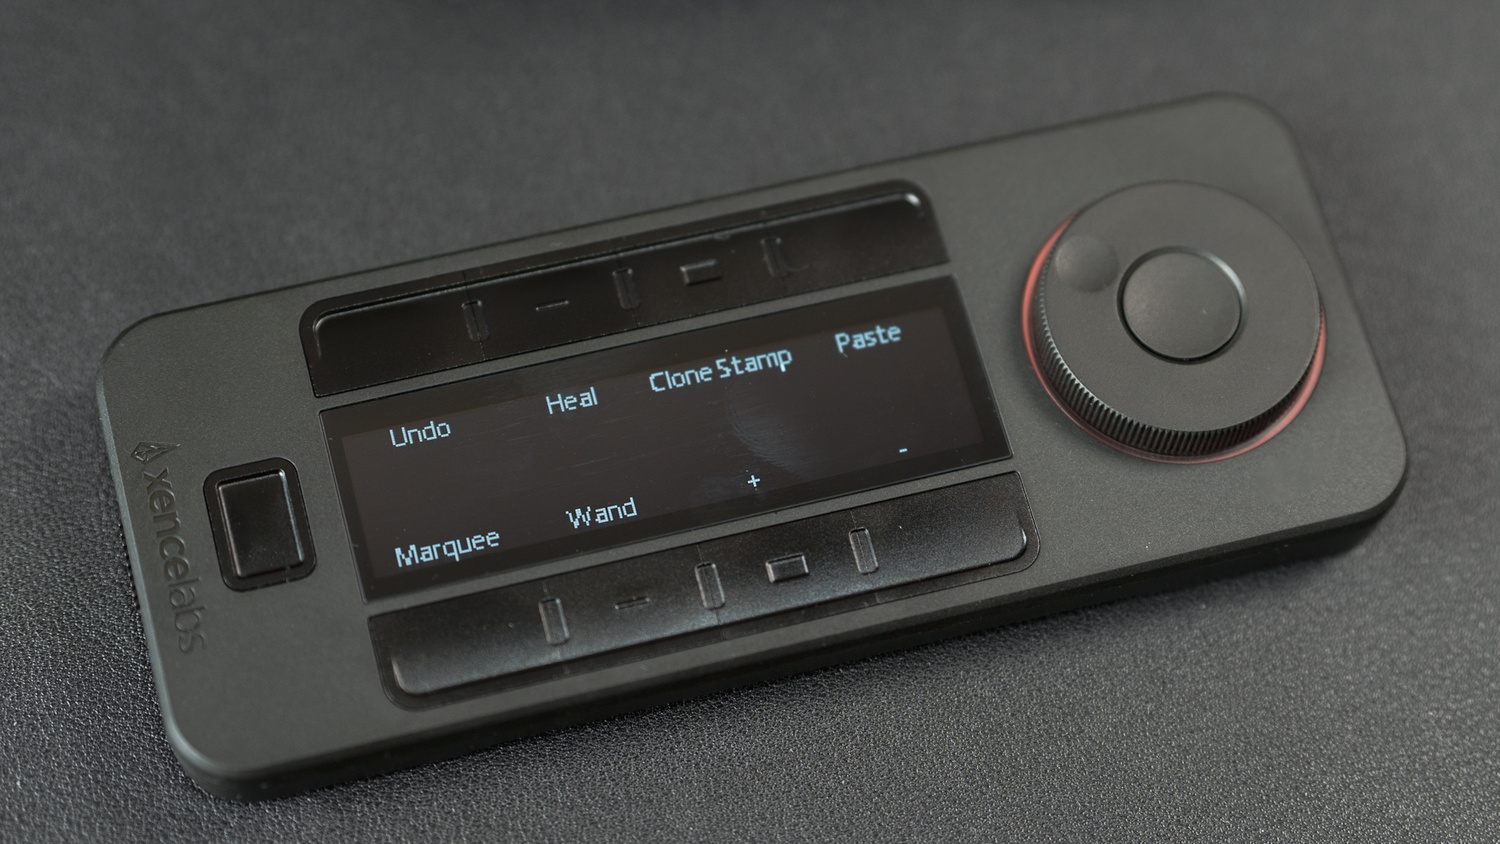
The Xencelabs Quick Keys controller can be thought of as the multiplier of efficiency and functionality of the pen display. This 6.2 x 2.46 x 0.47 inch (15.7 x 6.25 x 1.2 cm) wireless controller offers eight customizable buttons that can be assigned into five sets of shortcuts or commands per app/editing software, giving a total of 40 functions per app. The dial also has a mode-switch button that allows it to switch between four different functions per app. All the functions are then presented on the 3.12-inch OLED screen, since remembering them would be quite a chore.
This multi-function controller has a built-in battery with 24-53 hours of battery life and charges with a USB-C cable that can also function as an option for connectivity. By default, it functions wirelessly through a USB type A dongle that goes onto the computer or the pen display’s ports. At the time, there is no Bluetooth version of this tool, but that would definitely be an enticing option in the future.
Setting Up
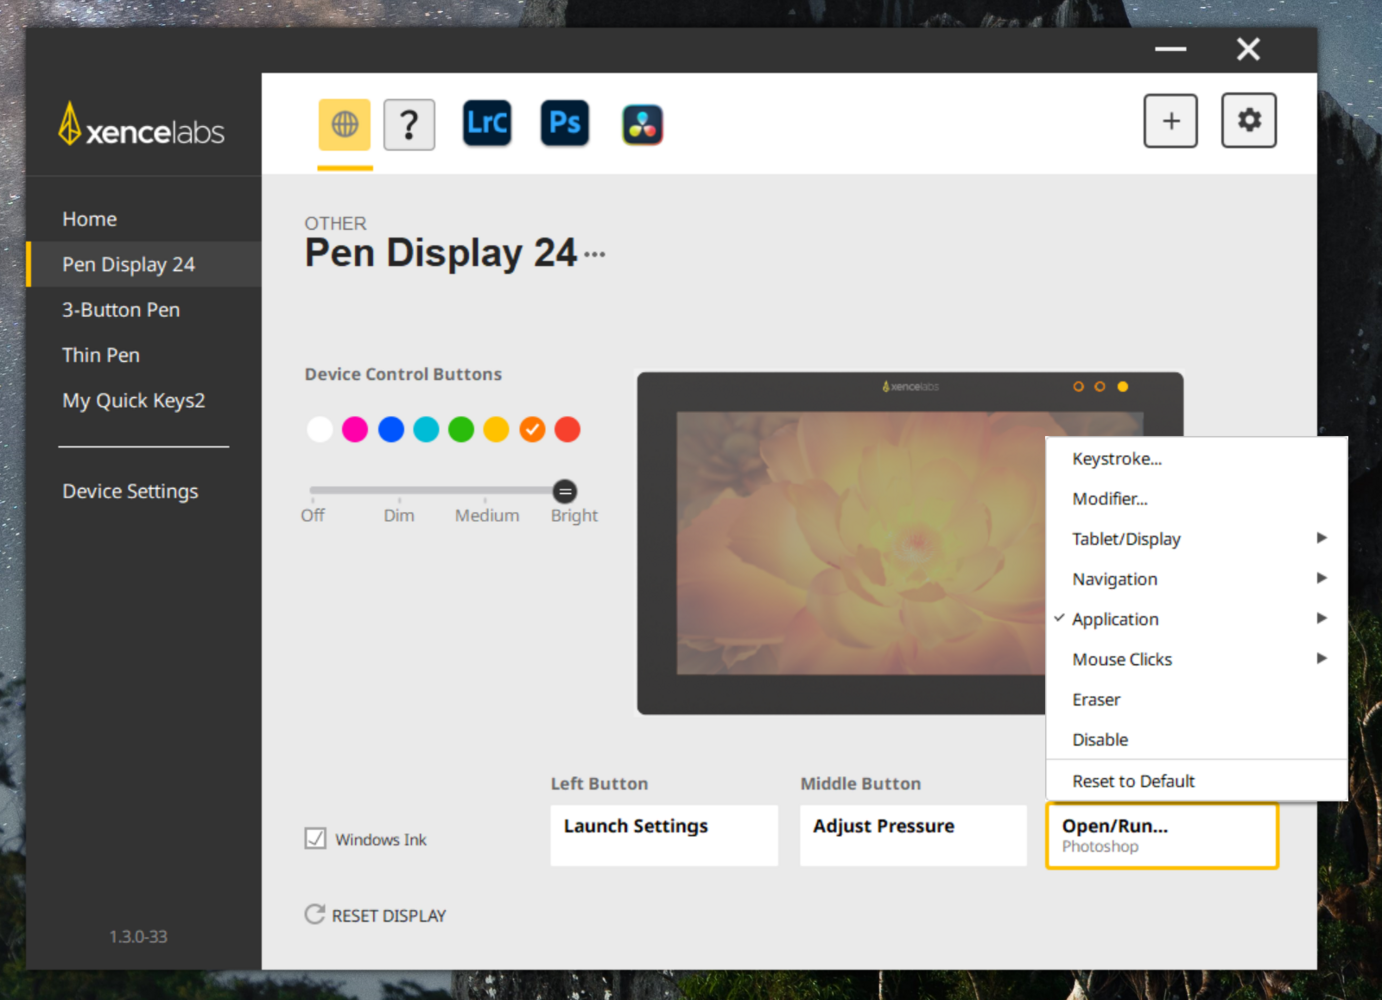
Preparing the display itself is very straightforward. For new users of Xencelabs products, this requires downloading the driver, and for users of older Xencelabs products, a software update is necessary. Once the driver is installed (and you have chosen to extend or duplicate your display if using with multiple screens), the software allows you to select custom functions and backlight colors for the three buttons on the panel.
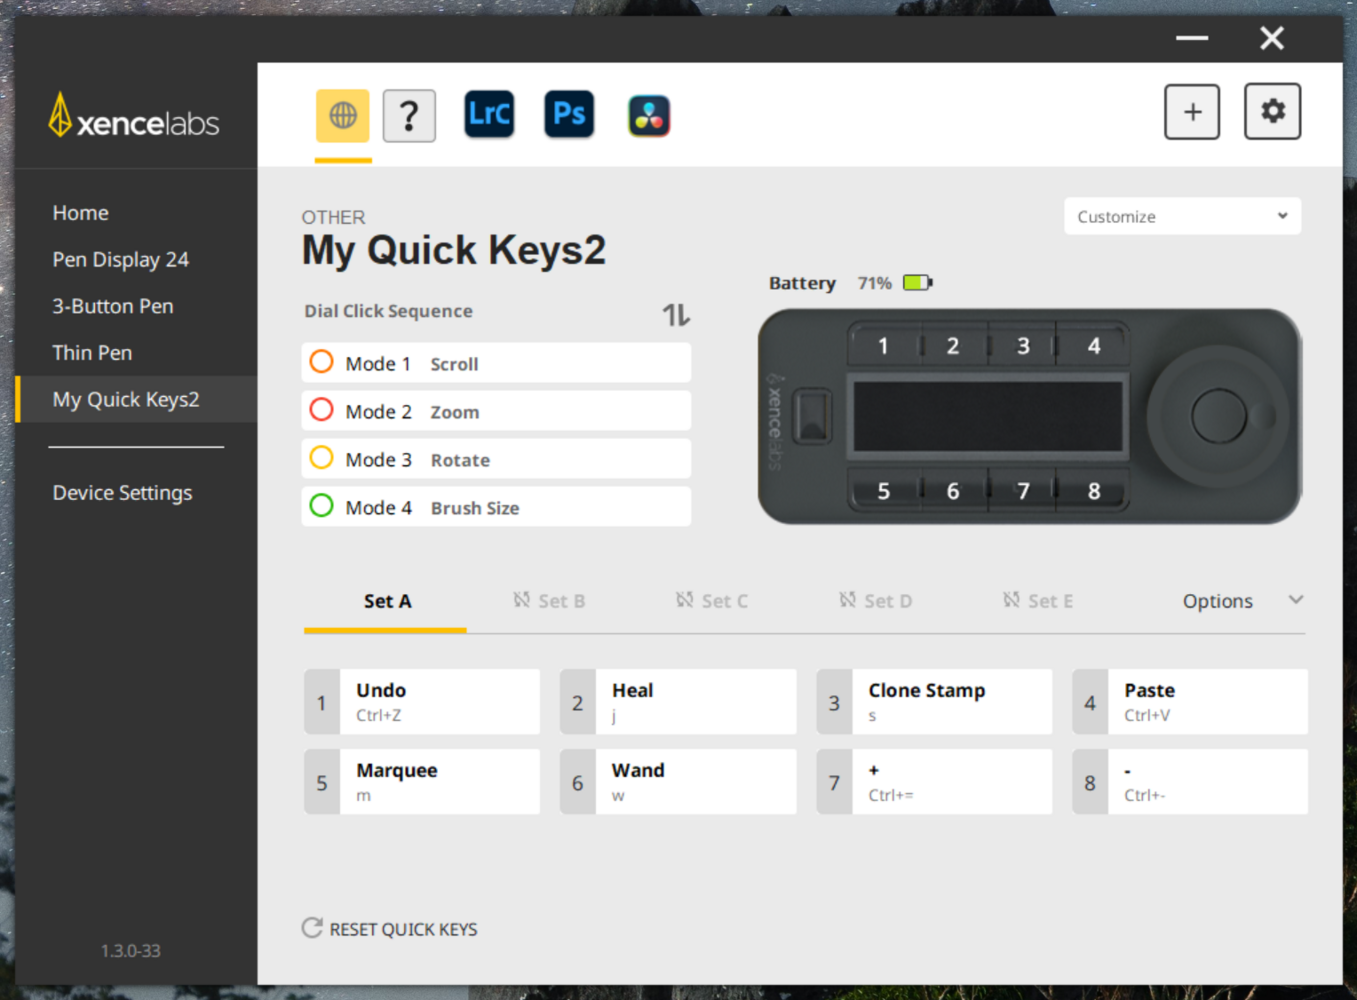
If you have previously set up a Quick Keys controller, then setting up is as easy as that. However, if not, then it will be assigning all the different functions of each button per app that will take quite a bit of time. In the same way, each of the two pens will have to be customized separately per button and the pressure sensitivity curve tuned to your liking.
Application
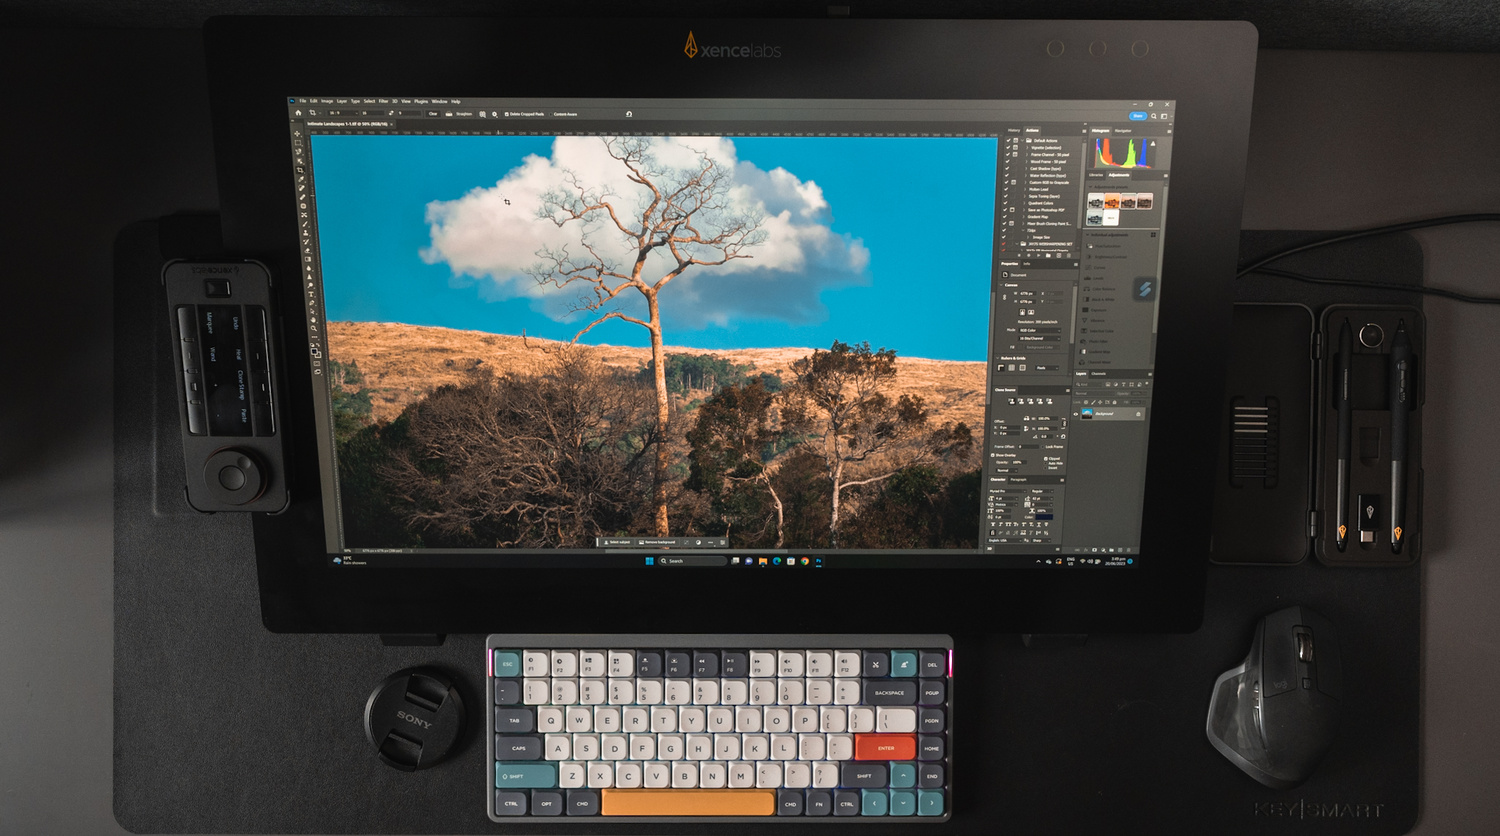
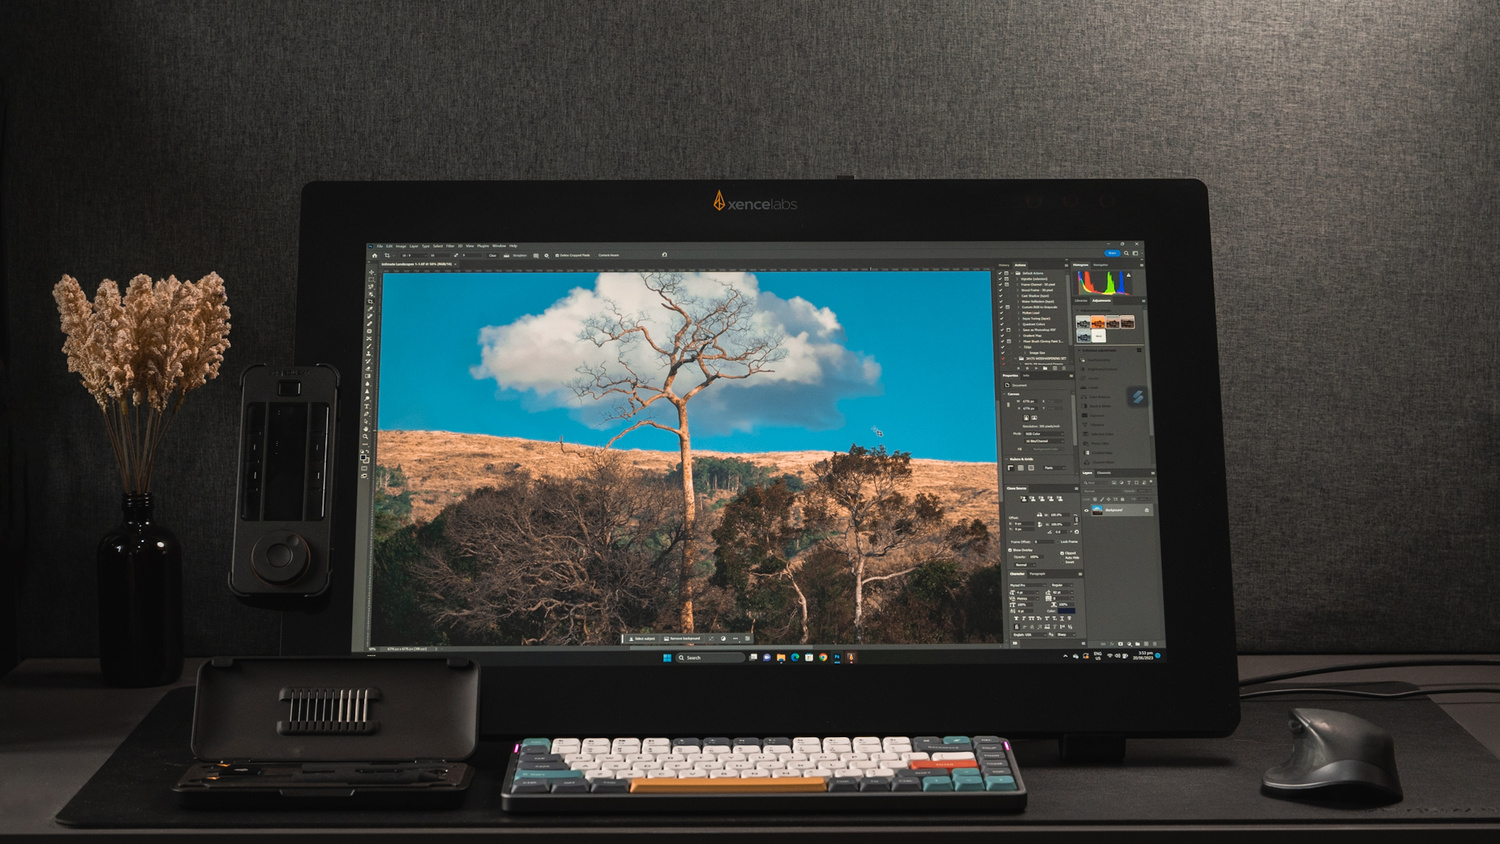
As a photographer, the main function of this pen display would be for an absolutely immersive editing experience, especially when retouching imperfections on a subject or totally transforming the image in creating composites. I can imagine how portrait, beauty, and fashion photographers would love having such a huge display with precision pens when it comes to retouching their images. This can also be applicable to still life, food, and product photographers, as I had quite a bit of fun cleaning up these product photos on the display itself.

Mixed media digital artists, illustrators, and designers would definitely have a lot to say about this tool, but as a photographer, the user experience is the biggest key. As a landscape and architectural photographer, this makes refining the images, especially those with a lot of clutter, much more efficient and comfortable. In the advent of AI-powered editing tools, a pen display like this, in terms of making selections, removing clutter, and blending elements together, can make things easier and takes the goal of any technological innovation — making the workflow more efficient — 10 steps further.
What I Liked:
- 24-inch 4K resolution
- Pantone validated wide gamut display
- Adaptive ergonomic design
- Feature-packed pen options and editing controller
What Can Be Improved:
- More ports on the display to act as a secondary hub
- Possibly more buttons (or even dials and sliders) on the display itself
- Bluetooth connectivity for the wireless controller
Purchase
You can purcahse the Xencelabs Pen Display 24 here.


